为了能有一个良好的上网环境,建立一个自用无污染dns必须的,否则你可能遇到如下几种情况:
针对敏感域名的错误解析

经过查询ip归属地发现是属于facebook的ip,除非twitter和facebook已成一家。。。不然这不科学。

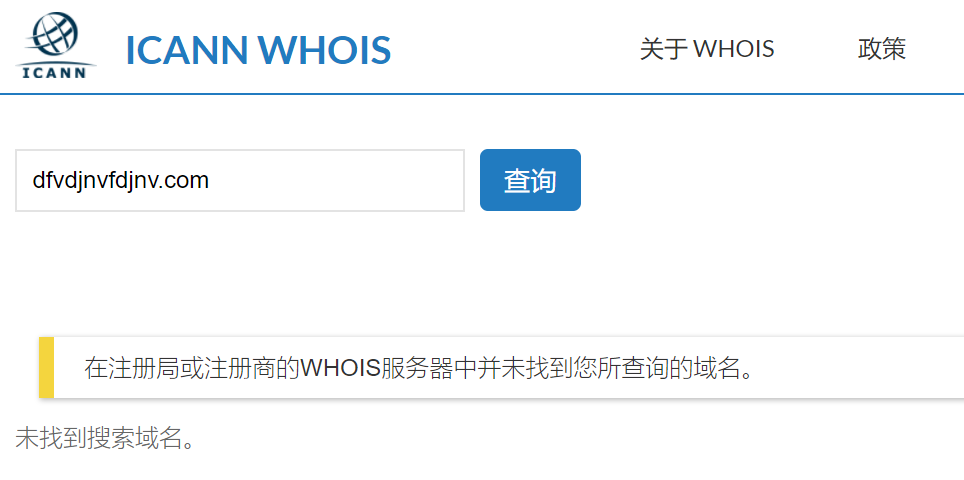
未注册域名存在记录

从上图可见,使用电信的当地dns(上海)查询一个未注册域名,存在A记录。然而查询这个域名的whois信息,你会得到如下结果:

显然这是电信的套路。。。下面开始正题吧。
配置google public dns反代
dingo使用的是google的httpdns,但在国内是无法访问到google的,因此需要找一台位于港澳台的服务器做一个反向代理(同时保证解析出的结果在大陆的访问速度)。
以下为nginx配置,仅供参考(仅包含反代部分)
    location / {
        proxy_set_header Host 'dns.google.com';
        proxy_redirect off;
        proxy_set_header X_FORWARDED_PROTO https;
        proxy_pass https://dns.google.com;
    }
编译dingo
环境准备
由于dingo使用golang编写,要编译dingo我们需要先准备好golang环境。当然你也可以到github上下载预编译好的release,即可跳过编译过程。
wget -c https://storage.googleapis.com/golang/go1.8.3.linux-amd64.tar.gz
unzip go1.8.3.linux-amd64.tar.gz
mv go /usr/local/
mkdir /usr/local/go/workspace

# 添加环境变量 (.bashrc / .zshrc等文件中, 根据你的情况选择,本文使用.bashrc)
GOROOT="/usr/local/go"
GOPATH="$GOROOT/workspace"
PATH="$GOROOT/bin:$GOPATH/bin:$PATH"
export GOROOT GOPATH PATH

source ~/.bashrc
当输入go version后出现下面的结果,就说明环境已经准备好了。

编译dingo
git clone https://github.com/pforemski/dingo.git
cd dingo
go get https://github.com/pforemski/dingo
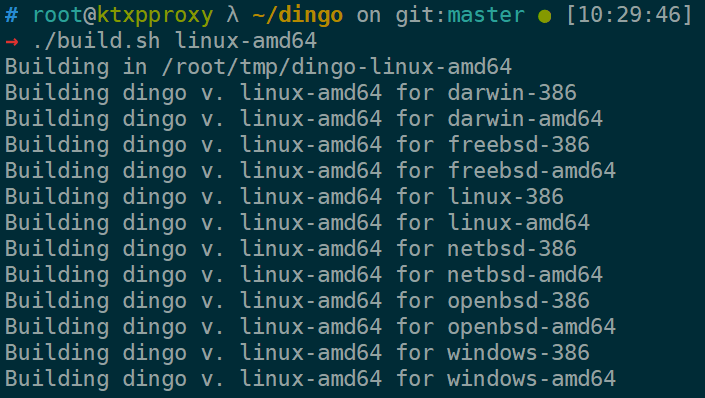
./build.sh linux-amd64

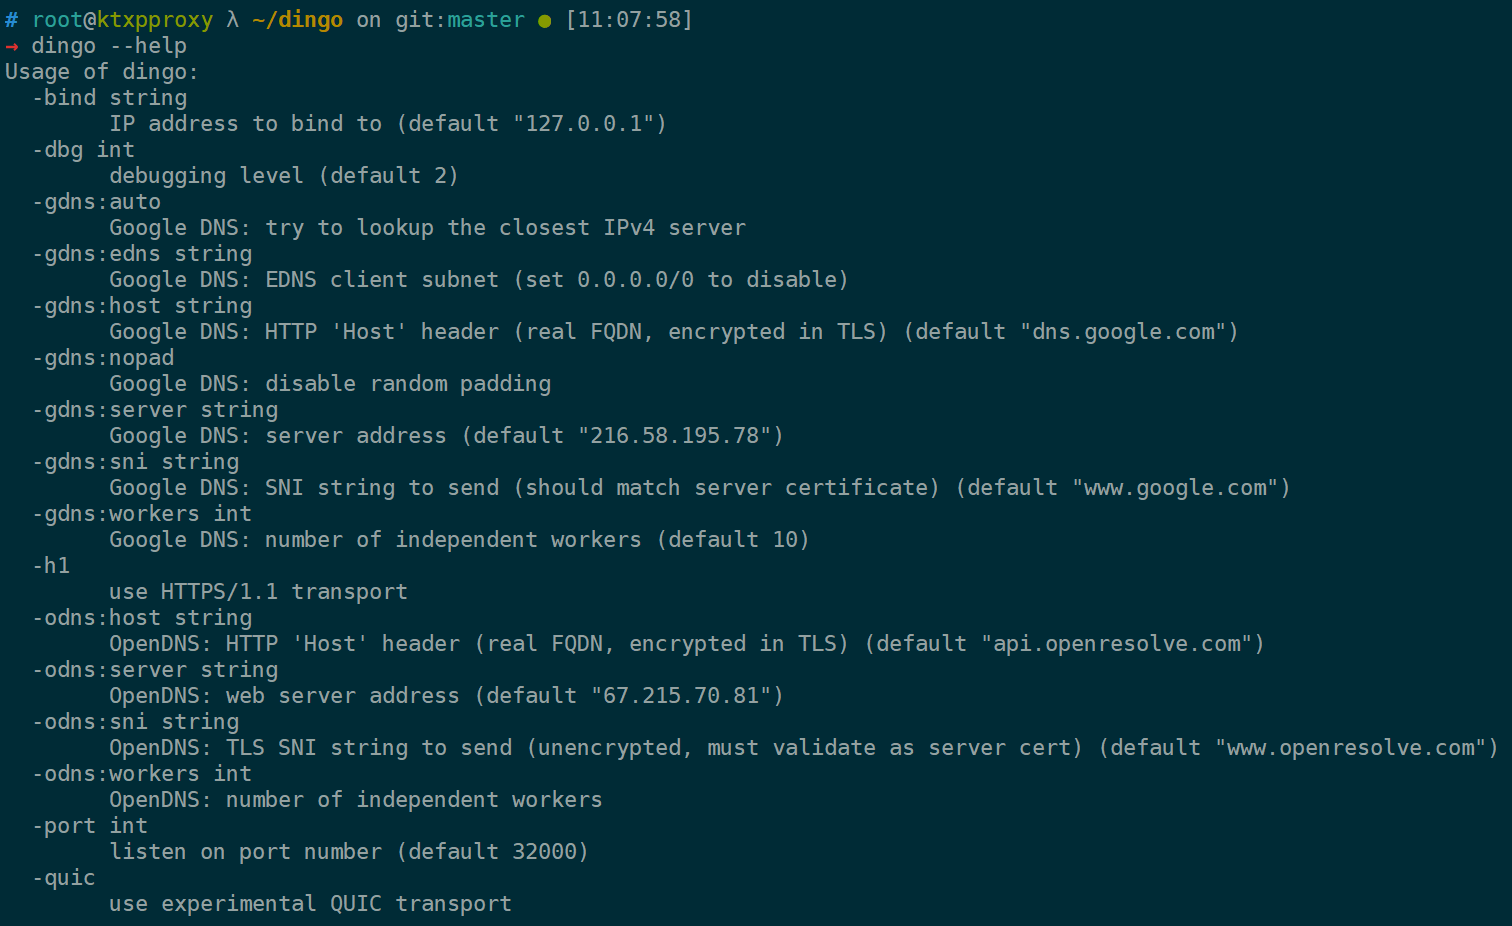
编译完成后会在/usr/local/go/workspace/bin目录下出现,dingo的可执行文件。执行dingo --help会出现dingo的参数说明:

至此dingo编译完成。
启动dingo服务
dingo启动命令:
/usr/bin/dingo -gdns:server=你的反代ip -gdns:host=你的反代域名 -gdns:sni=你的反代域名 -bind 127.0.0.1 -port 5353
如果需要后台启动,并且方便管理,可以使用supervisor或者systemd。鉴于自己对systemd还不熟,目前使用了supervisor。
安装unbound
如果没有什么特殊需求的话(比如edns-client-subnet),直接试用apt等软件包管理工具安装unbound即可。
apt-get install unbound -y
安装完成后注意修改/etc/default/unbound文件
- RESOLVCONF_FORWARDERS=true
+ RESOLVCONF_FORWARDERS=false
配置unbound
wget ftp://FTP.INTERNIC.NET/domain/named.cache -O/etc/unbound/root.hints
unbound-control-setup  # 生成unbound-control证书文件
参考配置文件,具体参数作用可以查看官方文档
# Unbound configuration file for Debian.
#
# See the unbound.conf(5) man page.
#
# See /usr/share/doc/unbound/examples/unbound.conf for a commented
# reference config file.
#
# The following line includes additional configuration files from the
# /etc/unbound/unbound.conf.d directory.
server:
    num-threads: 1 # 使用cpu cores
    interface: 0.0.0.0 # 监听地址
    port: 53 # 监听端口
    interface: ::0
    so-rcvbuf: 4m
    so-sndbuf: 4m
    so-reuseport: yes # 多线程设置为yes
    msg-cache-size: 64m
    rrset-cache-size: 128m
    cache-max-ttl: 3600
    outgoing-num-tcp: 256
    incoming-num-tcp: 1024
    do-ip4: yes
    do-ip6: no
    do-udp: yes
    do-tcp: yes
    tcp-upstream: no
    access-control: 127.0.0.1 allow         ##
    access-control: 10.0.0.0/24 allow       ## ACL
    access-control: 192.168.56.0/24 allow   ##
    root-hints: "/etc/unbound/root.hints"
    hide-identity: yes
    hide-version: yes
    harden-glue: yes
    module-config: "iterator"
    unwanted-reply-threshold: 10000000
    do-not-query-localhost: no
    prefetch: yes
    minimal-responses: no
    logfile: "/var/log/unbound.log"
    log-queries: yes
include: "/etc/unbound/unbound.conf.d/*.conf" # 包含unbound.conf.d目录下的conf文件
forward-zone:                         ##
    name: "."                         ##
    forward-addr: 127.0.0.1@5353      ## 转发请求到dingo
    forward-first: no                 ##

remote-control:        # unbound-control命令相关配置
        control-enable: yes
        control-interface: 127.0.0.1
        control-port: 8953
        control-key-file: "/etc/unbound/unbound_control.key"
        control-cert-file: "/etc/unbound/unbound_control.pem"
        server-key-file: "/etc/unbound/unbound_server.key"
        server-cert-file: "/etc/unbound/unbound_server.pem"
配置国内站点加速
配置国内站点的解析转发到国内dns,使用到dnsmasq-china-list。
git clone https://github.com/felixonmars/dnsmasq-china-list.git
cd dnsmasq-china-list
make SERVER=119.29.29.29 unbound # 可以使用`SERVER=`修改转发dns地址,默认使用的是电信的114
cp accelerated-domains.china.unbound.conf /etc/unbound/unbound.conf.d/accelerated-domains.china.unbound.conf
systemctl restart unbound # service unbound restart
将dns修改为本地dns
Linux系统修改方法:
vim /etc/resolv.conf
nameserver 127.0.0.1
Windows的就不多说了/w\
参考资料
unbound配置及加速:
使用 Unbound 搭建更好用的 DNS 服务器
unbound配置:
Unbound documentation